To begin building a Black Dog Canoe each 4/4 cedar board must be hand cut into 1/4 inch strips. Then each strip must be routed so that they will fit together around the curves of the canoe. Some builders plane the edges to fit, but by routing a bead and cove on each strip, there is more gluing surface and no chance of spaces between strips.
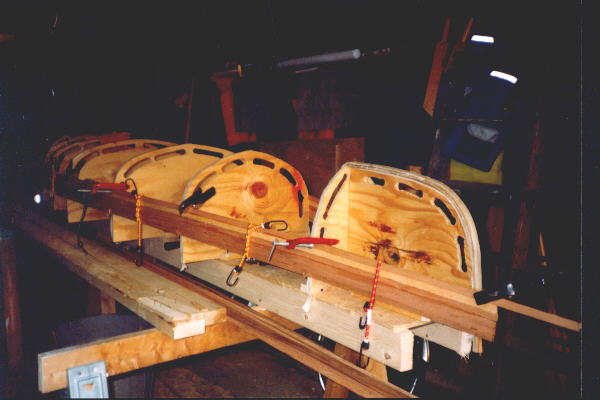
After the strips are routed, the next thing to do is to build a plywood mold around which the canoe will be built. It is the mold from which the canoe will get it's shape. Once the mold is set up, it's time to start gluing on the strips of cedar. This takes quite a few weeks because I only use clamps and bungees to hold the strips in place, unless a staple or nail is the only thing that will work.
As I said, lots of bungees and clamps. The strip of pine will be for a pinstripe to be added later.
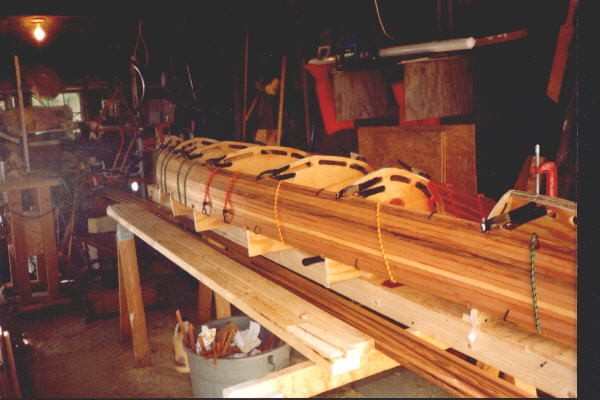
As the strips start to go around to the bottom of the canoe, it gets harder and harder to keep them in place. At this point each strip needs to be cut to fit against the keel strip which goes down the center of the canoe. Black Dog Canoes do not have an actual keel though. I have found that it really isn't necessary. If someone would like a keel though it can be added once the canoe is finished.
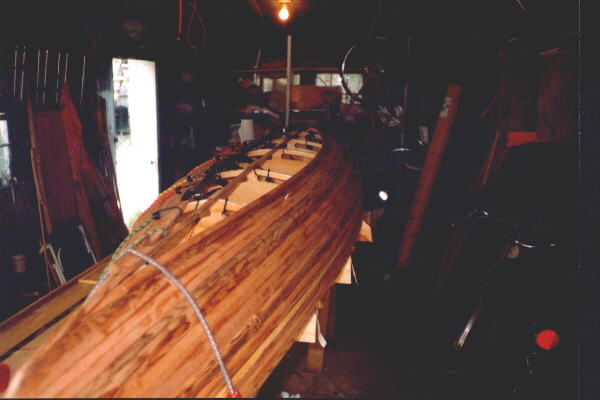
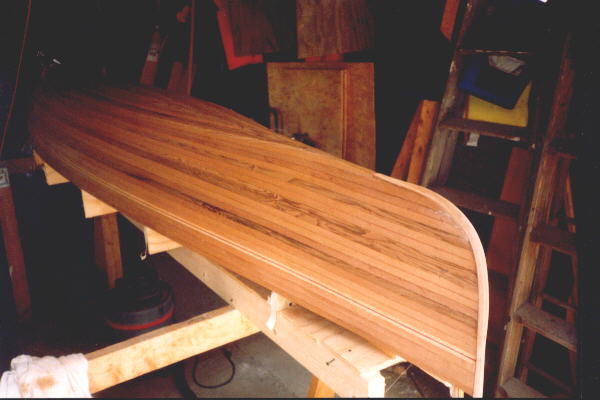
Here the stripping and sanding are finished, the stem has been added, as well as the pinstripe.
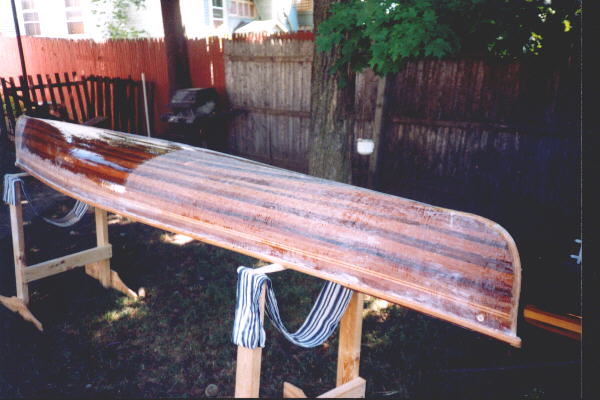
The fiberglassing and epoxying has been completed, and the surface is being sanded in preparation for the varnish. This canoe has had a hole added in the bow and the stern to allow it to be tied down easier when it is car topped.
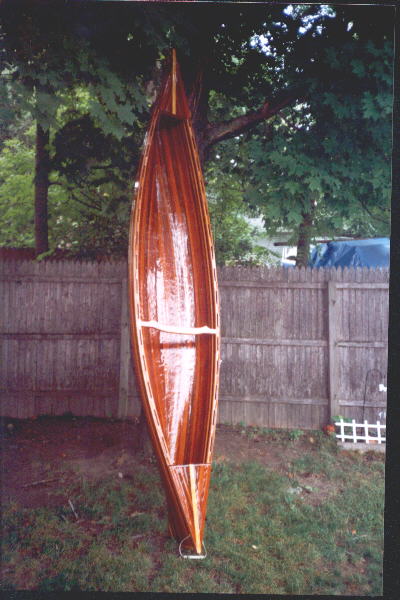
Here's the finished product, complete with inwales, outwales, thwart, decks, and four coats of varnish. The only upkeep necessary will be a coat or two of varnish each year.